# How to Make Jewelry Photos Look More Sparkly and Brilliant
Jewelry photography can be challenging, especially when photographing diamonds, gemstones, gold rings, and other reflective accessories. A beautiful piece of jewelry may look impressive in person, but the photograph sometimes fails to show the details that make it special.
Diamonds may appear dull, gold surfaces may contain dark reflections, and gemstones may lose some of their natural color under incorrect lighting. These problems can make jewelry photographs less appealing, particularly when they are used for online stores, product catalogs, and advertising.
Fortunately, there are several ways to make jewelry photographs look more sparkly and brilliant without changing the actual product.
The process begins with proper lighting, careful camera settings, and a clean photography setup. Photo editing can then help refine the results by correcting colors, improving existing gemstone details, and reducing distracting reflections.
However, making jewelry look sparkly does not mean adding excessive artificial effects. The goal is to show the jewelry's natural appearance while keeping its design, gemstone arrangement, and metal finish accurate.
In this guide, you will learn **how to make jewelry photos sparkle** using practical photography techniques and professional photo editing methods. These tips can help jewelry photographers, online sellers, and jewelry businesses prepare clearer, more attractive product photographs.
Why Do Jewelry Photos Sometimes Look Dull?
Before learning how to improve jewelry photographs, it helps to identify why diamonds and gemstones sometimes appear less brilliant in pictures.
Jewelry contains reflective materials that respond differently to lighting conditions.
A diamond, for example, reflects and refracts light through its facets. Depending on the lighting setup and viewing angle, some facets may appear bright while others appear dark.
This variation is normal and helps define the gemstone's structure.
However, poor lighting can reduce visible contrast between the facets, making the diamond appear flat.
Gold and silver surfaces can also look dull when the lighting does not properly define their curves.
Another common issue is incorrect exposure.
If a photograph is too dark, important gemstone details may be difficult to see. If it is overexposed, the brightest areas may lose detail and appear as solid white patches.
Dust, fingerprints, and unwanted reflections can also distract from the jewelry.
Understanding these problems makes it easier to choose the correct photography and editing techniques.
1. Use the Right Lighting to Make Jewelry Sparkle
Lighting is one of the most important factors in jewelry photography.
The appearance of diamonds, gemstones, and polished metals depends heavily on how light reaches the product.
A suitable lighting setup can help define gemstone facets and metal surfaces.
Combine Soft and Controlled Directional Lighting
Soft lighting helps create smooth tonal transitions across polished metal.
This is useful for photographing gold, silver, and platinum because large light sources can produce broad, controlled reflections.
However, diamonds and faceted gemstones may benefit from smaller directional light sources that create distinct highlights.
A combination of soft lighting and carefully positioned directional light can help show both the metal finish and the gemstone's natural brilliance.
For example, a photographer may use a diffused light source to illuminate the ring band and a smaller light source to create defined reflections within the diamond.
The exact arrangement depends on the jewelry's shape and materials.
Avoid Uncontrolled Direct Flash
A direct camera flash can produce harsh reflections and overexposed areas.
It may also reflect directly into polished metal, creating distracting white patches.
Instead, use controlled lighting that allows you to adjust the direction and size of the reflections.
If using a smartphone, try photographing near a window with indirect daylight.
A white reflector can help balance darker areas.
Experiment With Light Position
Small changes in lighting position can significantly affect gemstone appearance.
Move the light slightly to the left, right, or above the jewelry while observing how the reflections change.
For diamonds, different lighting angles can reveal different facets.
Take several photographs and compare the results before choosing the final image.
2. Clean Your Jewelry Before Taking Photos
Cleaning jewelry before photography can reduce the amount of editing required later.
Even small particles of dust and fingerprints may become visible in close-up photographs.
These imperfections can interfere with reflections and make polished surfaces appear less clean.
Remove Dust and Fingerprints
Use a suitable jewelry cleaning method recommended for the material and gemstone.
A clean microfiber cloth can be useful for wiping certain polished metal surfaces.
However, not every gemstone should be cleaned using the same method.
Porous or delicate materials, including some pearls, opals, and treated gemstones, may require specialized care.
Avoid using harsh chemicals or abrasive materials unless they are specifically recommended for the jewelry.
Inspect the Jewelry Before Shooting
Examine the product under the photography lighting.
Look for fingerprints, loose dust, polishing residue, and distracting surface marks.
Pay attention to the spaces around gemstone settings and prongs.
Removing these marks before photography can save time during editing.
Use Clean Photography Accessories
Dust on backgrounds, display stands, and jewelry holders can also appear in photographs.
Keep the photography surface clean and avoid touching polished jewelry unnecessarily after preparation.
3. Choose a Background That Complements the Jewelry
The background can influence how customers perceive a jewelry photograph.
A suitable background helps separate the product from its surroundings and keeps attention on the jewelry.
White Backgrounds for E-commerce
White backgrounds are commonly used for online jewelry product listings.
They provide a clean presentation and make it easier to compare products.
However, white backgrounds require careful exposure control.
Silver jewelry and transparent gemstones can lose definition when photographed against an excessively bright background.
Use controlled lighting to maintain visible edges and natural contrast.
Dark Backgrounds for Diamond Jewelry
Dark backgrounds can create strong visual contrast with diamonds and polished metals.
A black or charcoal background may make certain gemstone highlights appear more noticeable.
However, dark backgrounds can also create unwanted reflections on metal surfaces.
The lighting should be adjusted carefully to maintain separation between the jewelry and background.
Neutral Backgrounds for Gold Jewelry
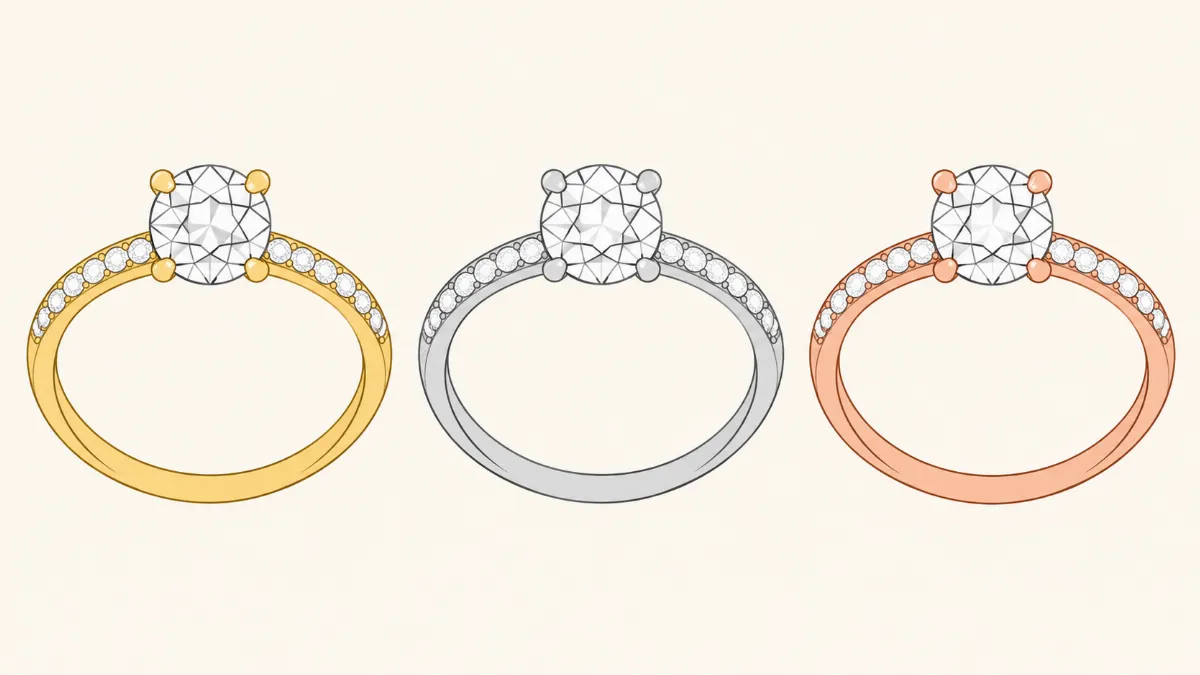
Ivory, beige, and neutral gray backgrounds can complement yellow gold and rose gold.
These colors provide a subtle setting without competing with the product.
For commercial photography, choose backgrounds that fit the brand's visual style and the intended platform.
4. Adjust Your Camera Settings for Sharper Jewelry Photos
Camera settings affect the clarity and detail of jewelry photographs.
Even good lighting cannot fully compensate for incorrect focus or camera movement.
Use a Low ISO When Possible
A low ISO setting can reduce digital noise in photographs.
Noise may become noticeable in smooth metal surfaces and darker gemstone areas.
When using a camera with manual settings, choose a low ISO that still allows proper exposure.
For smartphone photography, provide enough light so the camera does not need to increase sensitivity excessively.
Focus on Important Jewelry Details
For diamond rings, focus on the gemstone or another important product feature.
For necklaces, make sure the pendant and important chain details are clear.
For earrings, pay attention to the gemstone settings and decorative elements.
Use manual focus or tap-to-focus when available.
Use a Tripod
A tripod helps reduce camera movement.
This is particularly useful for macro jewelry photography, where small movements can affect sharpness.
A stable camera also allows photographers to use longer exposure times when necessary.
Consider Focus Stacking
Focus stacking combines multiple photographs taken at different focus distances.
This technique is useful when a single photograph cannot keep the entire jewelry piece sharp.
For example, a close-up ring photograph may have a sharp front gemstone but a blurry back band.
Focus stacking can help produce a final image with more of the jewelry in focus.
The process requires consistent camera positioning and suitable editing software.
5. Use Reflectors to Improve Metal and Gemstone Appearance
Reflectors help control how light reaches the jewelry.
They are especially useful when photographing polished metal surfaces.
A white reflector can brighten darker areas by bouncing light toward the product.
A black card can create controlled dark reflections that define the shape of polished metal.
These darker reflections are not always defects.
In fact, carefully positioned dark areas can help show the curves and contours of gold and silver jewelry.
White Reflectors
White reflectors can soften contrast and provide additional illumination.
They are useful when one side of a ring or bracelet appears too dark.
Black Cards
Black cards can create defined edges and contrast on reflective surfaces.
For example, a silver ring may appear flat when surrounded entirely by white surfaces.
Adding a controlled dark reflection can help define its shape.
Small Reflective Surfaces
Small reflectors can direct light toward selected gemstone areas.
Experiment with their placement to create natural highlights without overexposing the stone.
The goal is to control reflections rather than eliminate them completely.
6. Correct Jewelry Colors During Photo Editing
Color correction is an important part of jewelry photo editing.
Different lighting conditions can cause gold, silver, and gemstones to appear inaccurate.
For example, yellow gold may appear orange under warm lighting.
Silver may appear slightly blue under cool lighting.
Gemstones can also display unwanted color shifts.
Adjust White Balance
White balance controls the overall color temperature of a photograph.
Correcting white balance can help jewelry colors more closely match the actual product.
When editing, use a reliable neutral reference when available.
Avoid relying entirely on automatic adjustments because reflective surfaces can confuse color correction tools.
Control Saturation
Increasing saturation can make gemstones appear more colorful.
However, excessive saturation may misrepresent the actual stone.
For commercial product photography, accurate color should remain the priority.
Use Selective Color Adjustments
Selective adjustments allow editors to correct specific areas without changing the entire photograph.
For example, a gold ring may require a small color adjustment while the diamond remains unchanged.
Tools such as Adobe Photoshop and Lightroom can help with this process.
7. Improve Diamond Sparkle Through Careful Retouching
Diamond photo editing requires attention to existing gemstone details.
A diamond's appearance depends on its cut, lighting, reflections, and viewing angle.
Professional retouching can help improve the visibility of existing facets and reduce distracting marks.
Improve Local Contrast
Small contrast adjustments can help define differences between gemstone facets.
However, excessive contrast may create unnatural dark areas or remove subtle tonal transitions.
Apply adjustments carefully and compare the result with the original photograph.
Refine Existing Highlights
Bright areas within a diamond can help communicate its reflective properties.
If the original photograph contains useful highlight information, selective tonal adjustments can improve its visibility.
Avoid painting large artificial white areas onto the gemstone.
Remove Distracting Reflections
Some reflections may hide important gemstone details.
Careful retouching can reduce unwanted reflections when sufficient image information is available.
However, reflections that define the stone's natural appearance should be preserved.
Avoid Artificial Gemstone Changes
Do not change the gemstone's cut, size, shape, facet arrangement, or internal characteristics.
For online jewelry stores, product photographs should accurately represent the item being sold.
8. Remove Unwanted Black Reflections From Jewelry
Black reflections are common in polished jewelry photography.
They may appear on gold rings, silver bracelets, platinum settings, and other reflective surfaces.
These reflections often come from cameras, equipment, or nearby dark objects.
Some dark reflections are useful because they help define the metal's shape.
Others may appear as distracting patches.
Identify the Reflection Source
Before editing, determine if the dark area is a natural reflection, a shadow, or an unwanted mark.
This distinction matters because removing all dark areas can make jewelry look flat.
Use Localized Editing
Professional retouchers may use healing tools, cloning, masks, and carefully controlled tonal adjustments.
These methods allow editors to work on selected metal areas without changing nearby gemstones.
Preserve Natural Metal Texture
Gold and silver surfaces often contain subtle polishing lines and natural tonal variations.
Removing these details can make the jewelry appear artificial.
The finished photograph should retain the original metal finish.
9. Apply Sharpening Carefully
Sharpening can improve the appearance of jewelry photographs when the original image contains sufficient detail.
It is particularly useful for gemstone edges, prongs, metal contours, and small decorative elements.
However, excessive sharpening can create unwanted artifacts.
Use Selective Sharpening
Apply sharpening only where necessary.
For example, the front edge of a ring may need a small adjustment while the background should remain smooth.
Avoid Strong Sharpening Halos
Excessive sharpening may create bright or dark outlines around jewelry edges.
These halos can make the photograph look unnatural.
Inspect at Full Resolution
Zoom in to examine the finished image.
Check gemstone facets, prongs, metal edges, and background transitions.
Compare the edited photograph with the original to confirm that important details remain accurate.
10. Use Professional Jewelry Photo Retouching for Complex Images
Some jewelry photographs require more detailed editing than basic photo editing applications can provide.
For example, a diamond necklace containing numerous gemstones may have complicated reflections across multiple metal surfaces.
A ring photographed at a close distance may contain small imperfections that require precise manual correction.
Professional jewelry retouching can help address these problems.
Common services include metal reflection cleanup, gemstone detail refinement, color correction, background editing, and selective sharpening.
Experienced retouchers work carefully to maintain the original jewelry design.
For jewelry businesses with large product collections, outsourcing detailed retouching may also reduce the amount of editing work handled internally.
However, professional editing should not be used to create misleading product characteristics.
The objective is to improve presentation while preserving the jewelry's real appearance.
Best Photo Editing Software for Sparkly Jewelry Photos
Several editing applications can help improve jewelry photographs.
The best option depends on the complexity of the image and the editing requirements.
| Editing Software | Best Use |
|---|---|
| Adobe Photoshop | Detailed jewelry retouching and reflection cleanup |
| Adobe Lightroom | Color correction, exposure, and tonal adjustments |
| Snapseed | Basic mobile editing and localized adjustments |
| Photoroom | Background removal and product image preparation |
| Canva | Jewelry marketing graphics and promotional layouts |
Adobe Photoshop is useful for detailed manual retouching.
Lightroom provides controls for color correction and exposure adjustments.
Snapseed is a practical option for basic mobile editing.
Photoroom can help prepare clean backgrounds, while Canva is useful for promotional graphics.
For complex jewelry photographs, desktop editing software generally provides greater control over small details.
Common Mistakes That Make Jewelry Photos Look Artificial
When trying to make jewelry appear more sparkly, it is easy to apply too many adjustments.
One common mistake is excessive brightness.
Increasing exposure too much can remove gemstone details and create large white areas.
Another mistake is adding artificial sparkle effects.
Decorative star-shaped highlights may be suitable for certain advertisements, but they can misrepresent the appearance of the actual jewelry if used excessively.
Over-sharpening is another common problem.
Strong sharpening can create unnatural outlines around gemstones and metal edges.
Incorrect color correction can also affect product accuracy.
For example, yellow gold may become too orange, while silver may develop an unwanted blue tint.
Finally, removing every dark reflection can make polished metal appear flat.
Natural contrast is necessary to communicate shape and surface finish.
The best jewelry photographs balance clarity, accurate color, controlled reflections, and realistic details.
How to Make Jewelry Photos Sparkle Using Your Phone
You can improve jewelry photographs using a smartphone when the photography setup is carefully prepared.
Start by cleaning the jewelry and placing it on a stable surface.
Use indirect daylight or a controlled artificial light source.
Position a small reflector to improve illumination in darker areas.
Tap the screen to focus on the gemstone or most important jewelry detail.
Avoid excessive digital zoom.
Take several photographs while slightly changing the lighting angle.
Review the images and choose the photograph with the clearest gemstone details and most accurate colors.
Next, open the photograph in a mobile editing application such as Lightroom or Snapseed.
Adjust exposure, white balance, and contrast carefully.
Use selective sharpening only when necessary.
If the background is distracting, consider using a background removal tool.
Finally, compare the edited image with the original photograph.
The jewelry should appear cleaner and clearer without looking like a different product.
Frequently Asked Questions About Jewelry Sparkle Photography
How do you make diamonds sparkle in photographs?
Use controlled lighting with a combination of soft illumination and smaller directional light sources. Adjust the lighting angle to reveal natural reflections within the diamond. Proper focus and careful exposure settings also help preserve gemstone details.
What lighting is best for jewelry photography?
The best lighting depends on the jewelry material. Soft lighting helps create smooth reflections on polished metals, while smaller directional light sources can create distinct highlights in faceted gemstones. A combination of both is often useful.
Can Photoshop make jewelry look more sparkly?
Yes. Photoshop can improve existing gemstone details through local contrast adjustments, selective sharpening, and careful reflection cleanup. However, editing should preserve the gemstone's actual appearance and avoid misleading changes.
Why do my diamond photos look dull?
Diamond photographs may appear dull because of uncontrolled lighting, incorrect exposure, poor focus, or unsuitable camera angles. Adjusting the lighting setup and taking photographs from different angles can help reveal natural gemstone reflections.
Should I add sparkle effects to jewelry photographs?
Decorative sparkle effects can be used in certain promotional graphics, but they should be applied cautiously. For product listings, natural gemstone reflections are generally preferable because they provide a more accurate representation of the jewelry.
Is professional jewelry retouching necessary?
Professional retouching is not necessary for every jewelry photograph. However, it can be useful when images contain complex metal reflections, detailed gemstones, distracting imperfections, or demanding commercial editing requirements.
Final Thoughts
Learning how to make jewelry photos look more sparkly and brilliant involves more than increasing brightness or adding decorative effects.
Good jewelry photography begins with clean products, controlled lighting, accurate camera settings, and suitable backgrounds.
Careful photo editing can then improve existing gemstone details, correct colors, reduce distracting reflections, and refine the overall appearance of the image.
For diamonds and gemstones, the goal is to reveal their natural reflective characteristics.
For gold, silver, and platinum, the focus should be on maintaining accurate metal colors, smooth tonal transitions, and realistic surface details.
Jewelry businesses should avoid excessive editing that changes the actual product.
By combining proper photography techniques with careful retouching, photographers and online sellers can create jewelry images that are clear, attractive, and suitable for commercial use.
**Looking for professional jewelry photo retouching services?** An experienced jewelry editing team can help clean metal surfaces, refine existing gemstone details, correct unwanted reflections, and prepare consistent product photographs for your online store or jewelry catalog.