# How to Remove Reflections from Jewelry Photos
Jewelry photography can be challenging because polished metals and gemstones reflect almost everything around them. A gold ring may show black patches from a camera, while a silver necklace may reflect studio equipment, clothing, or nearby objects.
These reflections can make jewelry look darker, less polished, or different from its actual appearance.
Even when jewelry is photographed with professional equipment, unwanted reflections may still appear. Some are caused by the lighting setup, while others come from the surrounding environment.
Fortunately, many distracting reflections can be reduced through careful photography and photo editing.
Learning **how to remove reflections from jewelry photos** involves identifying the source of the reflection, choosing suitable editing tools, and preserving the jewelry's natural appearance.
The goal is not to remove every reflection. Reflections help define the shape, curvature, and finish of metal surfaces. Without them, jewelry may look flat or artificial.
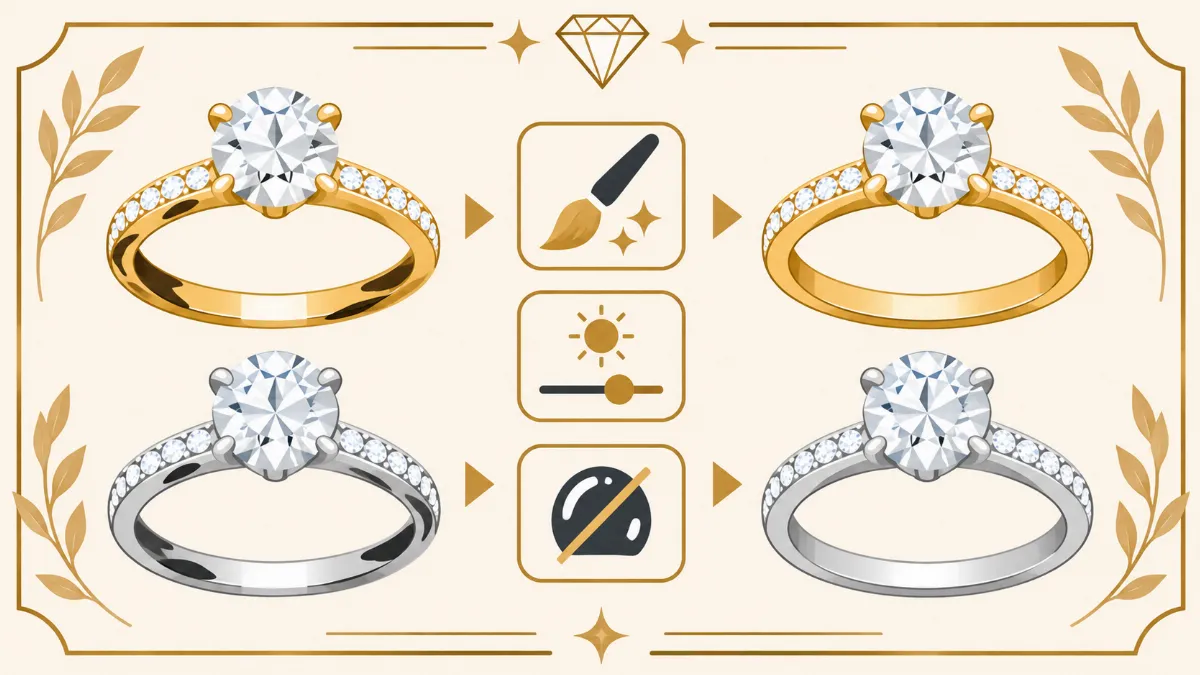
Instead, the editing process should focus on reducing distracting black patches, harsh glare, and unwanted color reflections while maintaining realistic highlights and shadows.
In this guide, we will explain why reflections appear, how to prevent them during photography, and how to correct them using Photoshop and other photo editing techniques.
We will also discuss reflection cleanup for gold, silver, gemstones, and different jewelry products.
1. Why Do Reflections Appear in Jewelry Photos?
Jewelry contains highly reflective surfaces, especially when made from polished gold, silver, platinum, or other metals.
These surfaces reflect nearby objects and lighting conditions.
Camera and Lens Reflections
A polished ring may reflect the camera or lens positioned in front of it.
This can create dark patches on the metal surface.
The closer the camera is to the jewelry, the more noticeable certain reflections may become.
Lighting Equipment
Softboxes, light stands, and other equipment may appear in reflective jewelry.
Large diffused light sources usually create smoother reflections than small, harsh light sources.
Dark Surrounding Objects
Black clothing, dark walls, and nearby equipment can create dark reflections on polished metal.
These reflections may make silver jewelry appear gray or black.
Colored Surroundings
Gold and silver jewelry can reflect nearby colored surfaces.
For example, a green background may introduce green reflections on a polished silver ring.
Harsh Direct Lighting
Strong direct light can create intense highlights that obscure metal details or gemstone facets.
Understanding the source of each reflection helps determine the best correction method.
2. Should You Remove Every Reflection from Jewelry?
Not every reflection is a problem.
Natural reflections help show the jewelry's shape, metal finish, and surface texture.
Removing all reflections can make a ring or necklace look flat.
Keep Natural Metal Highlights
Highlights help define curved surfaces.
A polished gold ring should contain natural variations between lighter and darker areas.
Preserve Metal Texture
Some jewelry contains polishing lines, brushed finishes, or subtle surface textures.
These details should remain visible after editing.
Remove Distracting Reflections
Large black patches, unwanted color reflections, and harsh glare may distract from the jewelry.
These are suitable areas for careful correction.
Avoid Artificially Uniform Surfaces
Replacing every reflection with a single color can make metal appear unrealistic.
Maintain natural tonal transitions.
Preserve Product Accuracy
Do not change the jewelry's shape, gemstone placement, metal color, or other design characteristics while correcting reflections.
3. Prevent Reflections Before Taking Jewelry Photos
Preventing unwanted reflections during photography can reduce editing time.
A controlled photography setup often produces better results than relying entirely on retouching.
Use a Light Tent
A light tent surrounds the jewelry with diffused surfaces.
It can reduce reflections from nearby objects and create more controlled lighting.
Use Large Diffusion Panels
Diffusion panels create broad, smooth reflections on polished metal.
Adjust their position until the jewelry's important details remain visible.
Keep Dark Objects Away
Move unnecessary dark objects away from the jewelry.
Wear neutral clothing when possible to reduce unwanted color reflections.
Use White Reflector Cards
White cards can help create cleaner reflections on metal surfaces.
Position them carefully around the product.
Adjust the Camera Angle
A small change in camera position can move unwanted reflections away from important details.
However, maintain an angle that accurately shows the jewelry.
4. Prepare Jewelry Photos for Reflection Removal
Before editing, inspect the original photograph.
A careful review helps identify which areas need correction.
Keep an Original Copy
Always retain the untouched photograph.
This provides a reference for checking the final result.
Examine the Jewelry at Different Zoom Levels
Review the image at normal viewing size and at 100% zoom.
Look for black reflections, harsh highlights, and unwanted color patches.
Identify Important Details
Check gemstone settings, prongs, engravings, clasps, and metal edges.
These details should remain unchanged.
Separate Different Problems
Dust, scratches, reflections, and color casts require different corrections.
Do not treat every dark mark as a reflection.
Create a Non-Destructive Workflow
Use duplicate layers, adjustment layers, and masks when possible.
This allows corrections to be reviewed and modified without permanently changing the original image.
5. How to Remove Black Reflections from Jewelry in Photoshop
Black reflections are common on polished gold and silver jewelry.
They may appear as dark patches on rings, bracelets, necklaces, and earrings.
Step 1: Open the Original Photograph
Open the jewelry photograph in Photoshop.
Duplicate the original layer before making changes.
Step 2: Identify the Reflection
Zoom into the affected area.
Determine which dark regions are caused by reflections rather than actual product characteristics.
Step 3: Create a Local Adjustment
Use a Curves adjustment layer to brighten the affected reflection.
Apply a mask so the adjustment affects only the selected area.
Step 4: Refine the Mask
Use a soft brush to blend the correction into the surrounding metal.
Avoid changing nearby gemstones or engraved details.